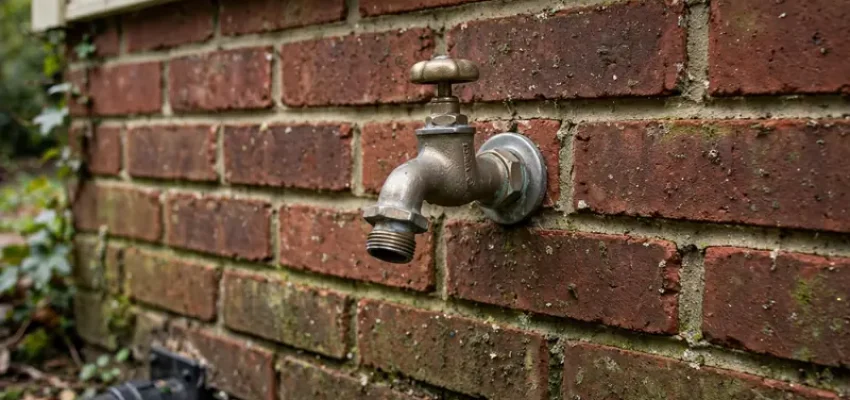

Every American homeowner eventually needs water outside the house, for the garden hose, washing the car, filling the kids’ pool, or hooking up sprinklers. A properly done outdoor faucet installation gives you reliable, freeze-resistant water access for decades, while a sloppy one can lead to burst pipes and flooded walls, which is why how to detect a water leak in your home skills matter for every homeowner. This complete USA guide walks you through choosing the right faucet, the tools and materials you need, the installation process step by step, and how to protect your new faucet through every season.
Choosing the Right Outdoor Faucet for Your Climate
Not all outdoor faucets are built the same, and your climate should drive the choice. In warm states like Florida, Texas, Arizona, and Southern California, a standard hose bibb works fine because freezing is rare. In the rest of the country, from the Northeast through the Midwest and into the Mountain West, a frost-free sillcock is the smart standard. Understanding the difference before you start your outdoor faucet installation saves you from a burst pipe the first winter.
Standard Hose Bibb vs. Frost-Free Sillcock
A standard hose bibb is the simple spigot most people picture: the valve seat sits right at the outside wall, so water stays in the pipe all the way to the exterior. When temperatures drop below freezing, that trapped water expands and can split the pipe inside your wall. These cost $10 to $25 and are fine for frost-free regions or faucets you faithfully shut off and drain every fall.
A frost-free sillcock solves the problem with a long stem, typically 6 to 14 inches, that places the actual shut-off valve deep inside your heated home. When you turn the handle off, water drains out of the exterior portion of the pipe, leaving nothing to freeze. They cost $25 to $60, and the small premium is the cheapest freeze insurance you can buy. For any outdoor faucet installation north of the Sun Belt, frost-free is the only sensible choice. Homeowners in cold states often tackle this project alongside how to prevent frozen pipes in winter USA preparations each fall.
Sizing and Connection Types
Most residential outdoor faucets use 1/2-inch connections and fit standard garden hoses. Measure your wall thickness before buying a frost-free sillcock so the stem reaches well into conditioned space. Check what your interior supply line is made of, since copper, PEX, and CPVC each need the matching adapter. If your home lacks a shut-off valve for the exterior line, plan to add a ball valve with a drain cap on the interior side.
Tools and Materials You Will Need
A successful outdoor faucet installation starts with gathering everything before you cut a single pipe. For tools, you will need a pipe cutter or hacksaw, an adjustable wrench and a pipe wrench, a drill with hole-saw bits if you are boring through the wall, a tape measure, and a level. Copper work needs a propane torch and solder kit; PEX work needs a crimp tool with rings. Keep Teflon tape, pipe dope, a bucket, and towels on hand.
On the materials side, buy the frost-free sillcock or hose bibb, the adapter for your supply line, a shut-off ball valve with drain port for the interior, pipe straps, exterior-grade silicone caulk, and foam insulation for exposed interior piping. If you are replacing an old faucet, buy the replacement before you start: corroded valves often signal aging pipes worth evaluating against repiping house cost USA guidance, and a mid-project hardware store run is nobody’s idea of fun.
Step-by-Step Outdoor Faucet Installation
With materials in hand and the main water shut off, you are ready to work. Take your time with each step; rushing plumbing is how leaks are born.
Step 1: Shut Off Water and Plan the Location
Turn off the main water supply and open the lowest faucet to drain pressure. Choose a spot on an exterior wall with easy interior access to a cold-water supply line, ideally in a basement, crawl space, or utility room. Avoid placing the faucet where discharge will pool against the foundation. Mark the spot 12 to 18 inches above grade so a bucket fits underneath.
Step 2: Cut Into the Supply Line
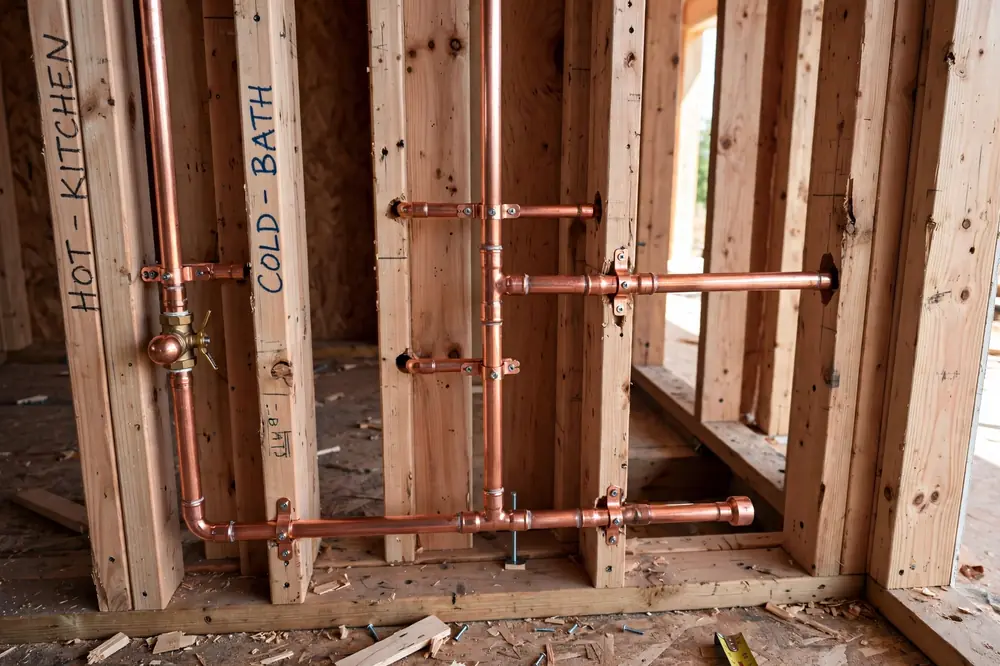
Inside the house, locate the cold-water line you will tap into and cut out a section to install a tee fitting. For copper, cut with a tubing cutter, then clean, flux, and solder the tee. For PEX, use push-fit or crimp tee fittings, which makes this a very beginner-friendly job. Install the new shut-off ball valve on the branch line right after the tee, where you can reach it easily every fall.
Step 3: Run Pipe Through the Wall
Drill through the wall at a slight downward angle toward the outside so any condensation drains outward, not into your wall cavity. Feed the pipe or the sillcock stem through the opening, leaving the faucet flange flush against the exterior siding or sheathing. If you are going through brick or block, a masonry bit and some patience are required, and the hole should be just large enough to pass the pipe without forcing it. Support long interior runs with straps every few feet so the pipe does not sag or stress the joints over time.
Step 4: Mount and Connect the Faucet
Secure the faucet flange to the exterior wall with stainless or coated screws into solid backing, not just siding. Connect the interior end with the proper adapter, using Teflon tape plus pipe dope on threaded joints. Tighten firmly but do not over-torque brass fittings, which can crack. Double-check that a frost-free sillcock slopes slightly downward toward the outside so it drains completely; an upward tilt traps water and defeats its whole purpose.
Step 5: Seal, Test, and Insulate
Seal around the exterior flange with exterior-grade silicone caulk, and insulate exposed interior pipe with foam insulation. Turn the main water back on slowly, open the new shut-off valve, and check every joint for drips with the faucet both open and closed. Let it run a minute to flush debris, then attach a hose and confirm good flow with zero leaks at any joint.
Where to Place Outdoor Faucets Around Your Home
Most American homes benefit from at least two outdoor faucets: one near the front for cars and plantings, and one in the backyard for gardening and play equipment. Large lots may warrant a third near a detached garage or garden beds. Homes on wells should also confirm well pump replacement cost USA capacity before adding multiple faucets. Think about your routines: where do you fill the watering can, and where would a future drip irrigation system connect?
Keep faucets away from walkways where a hose becomes a trip hazard, and away from electrical panels and AC condensers where constant spray causes corrosion. In cold climates, favor walls that stay warmer. If you are adding several faucets, check your home’s water pressure first; low-pressure homes may need attention to water pressure regulator installation USA before new branches perform well.
Winterizing Your Outdoor Faucet
In any state where temperatures drop below freezing, winterizing protects your outdoor faucet installation. Start by disconnecting all hoses, splitters, and timers in the fall; a connected hose traps water and is the number one cause of freeze bursts, even with frost-free models. Close the interior shut-off valve, then open the outdoor faucet and the drain cap to let the line drain completely. Leave the outdoor faucet open at a 45-degree angle through winter.
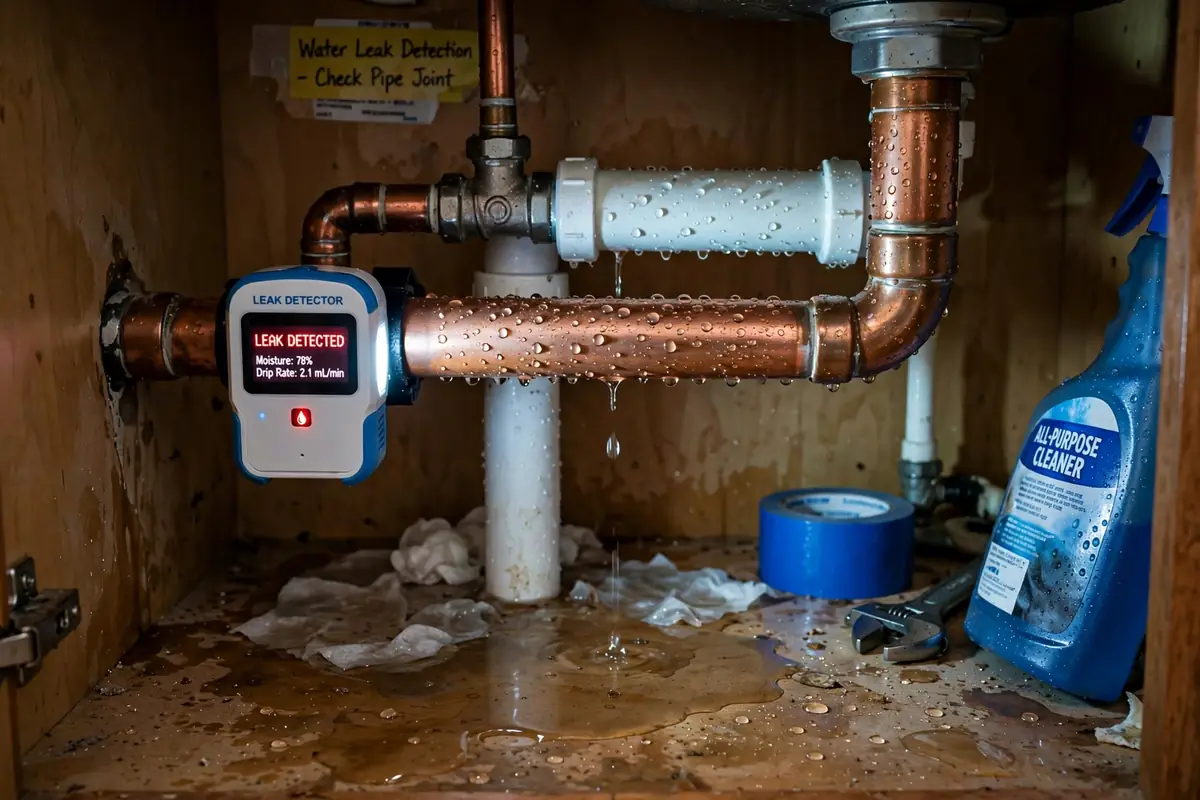
For standard hose bibbs without an interior shut-off, add an insulated faucet cover as a layer of protection, but it is no substitute for draining the line. Come spring, close the drain cap, reopen the interior valve slowly, and check for leaks before reconnecting hoses, walking through a how to detect a water leak in your home checklist to catch any freeze damage early. Pair this routine with how to winterize outdoor plumbing USA for full cold-weather protection.
Common Mistakes to Avoid
The most expensive mistake is skipping the interior shut-off valve. The second is installing a frost-free sillcock level or tilted inward so it cannot drain. Third, do not connect the faucet to a hot water line by accident; it happens in cramped utility rooms and wastes energy with every bucket.
Fourth, never leave hoses connected through winter, no matter the faucet type. Fifth, do not overtighten brass fittings or crank a stuck valve with a cheater bar. Finally, do not ignore local code: some municipalities require vacuum breakers on outdoor faucets to protect drinking water. If your project grows into a bigger refresh, a find a reliable plumber near me search can connect you with a pro, or compare kitchen sink installation cost USA 2026 if indoor fixtures need attention too.
Frequently Asked Questions
How much does outdoor faucet installation cost in the USA?
DIY installation typically costs $30 to $80 in materials for a frost-free sillcock and fittings. Hiring a plumber for a straightforward replacement runs $150 to $350, while a brand-new installation with new interior piping costs $300 to $600 in most markets. For context on bigger plumbing budgets, see toilet installation cost in USA.
Can I install an outdoor faucet myself?
Yes, if you are comfortable cutting and joining your type of supply pipe and your local code allows homeowner plumbing work. PEX systems with push-fit fittings make this one of the most DIY-friendly plumbing projects. If you need to solder copper in a tight space or bore through masonry, hiring a plumber is the safer bet.
Why does my outdoor faucet leak when the hose is attached?
The most common cause is a worn vacuum breaker or a loose hose washer. Try replacing the hose washer first, then check the vacuum breaker cap on top of the faucet. If the faucet drips from the handle or spout with no hose attached, the internal washer or cartridge likely needs replacement.
Do I really need a frost-free faucet in a mild climate?
If your area sees even occasional hard freezes, yes. One unexpected cold snap can burst a standard hose bibb and flood a wall cavity, causing thousands in damage. The price difference between standard and frost-free is small, so frost-free is cheap insurance anywhere freezes are possible.
Conclusion
A well-executed outdoor faucet installation is one of those home upgrades that quietly pays for itself year after year: easier gardening, simpler car washing, and reliable water wherever you need it outside. Choose a frost-free sillcock for any climate with winter, add an interior shut-off valve with a drain, seal the wall penetration properly, and make fall winterizing a habit. Whether you do it yourself in a weekend or hire a plumber for a few hundred dollars, you will wonder why you waited so long to get it done.