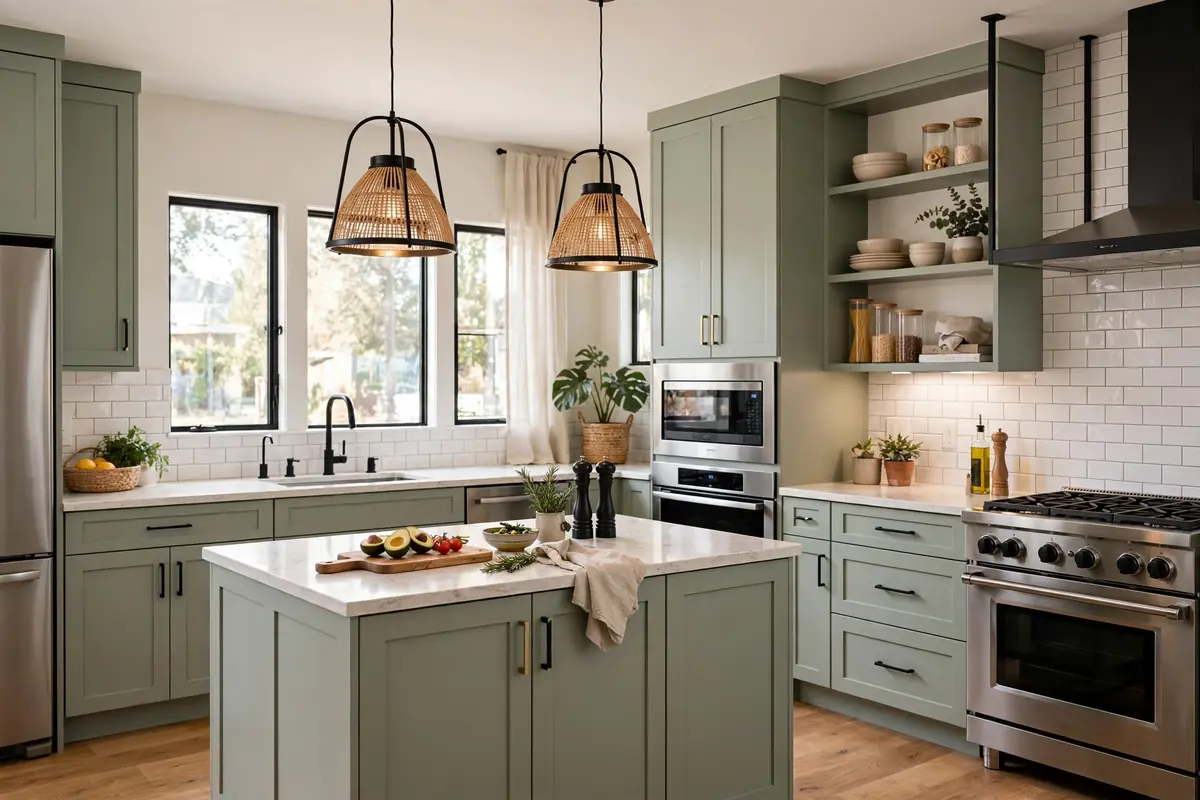

Dated oak cabinets dragging down your kitchen? Before spending $15,000 to $30,000 on replacements, consider painting them. Learning how to paint kitchen cabinets in USA homes properly delivers a stunning transformation for $200 to $1,000 in materials — a fraction of replacement cost. But cabinet painting is unforgiving: skipped prep or wrong products lead to chipping, peeling, and regret. This guide covers the professional process step by step.
Cabinet painting is the highest-skill DIY painting project in a home. Unlike walls, cabinets face daily touching, grease, moisture, and cleaning — the finish must be rock-hard and durable. Done right, painted cabinets look factory-finished and last 8 to 12 years. Done wrong, they chip within months. Follow this process for professional results.
How to Paint Kitchen Cabinets USA: Complete Step-by-Step
Step 1: Remove Doors, Drawers, and Hardware
Label everything. Number each door and its corresponding cabinet box with painter’s tape (Door 1 → Cabinet 1) — doors are not interchangeable. Remove hinges, handles, and knobs, storing hardware in labeled bags. This takes 1 to 2 hours for an average kitchen but prevents the amateur look of painted-over hinges.
Step 2: Clean Thoroughly (The Most Skipped Step)
Kitchen cabinets accumulate invisible grease that prevents paint adhesion. Clean all surfaces with TSP substitute or a degreasing cleaner, scrubbing twice. Rinse and let dry completely. This is the number one reason DIY cabinet jobs fail — paint over grease peels. Do not skip this even if cabinets “look clean.”
Step 3: Sand for Adhesion
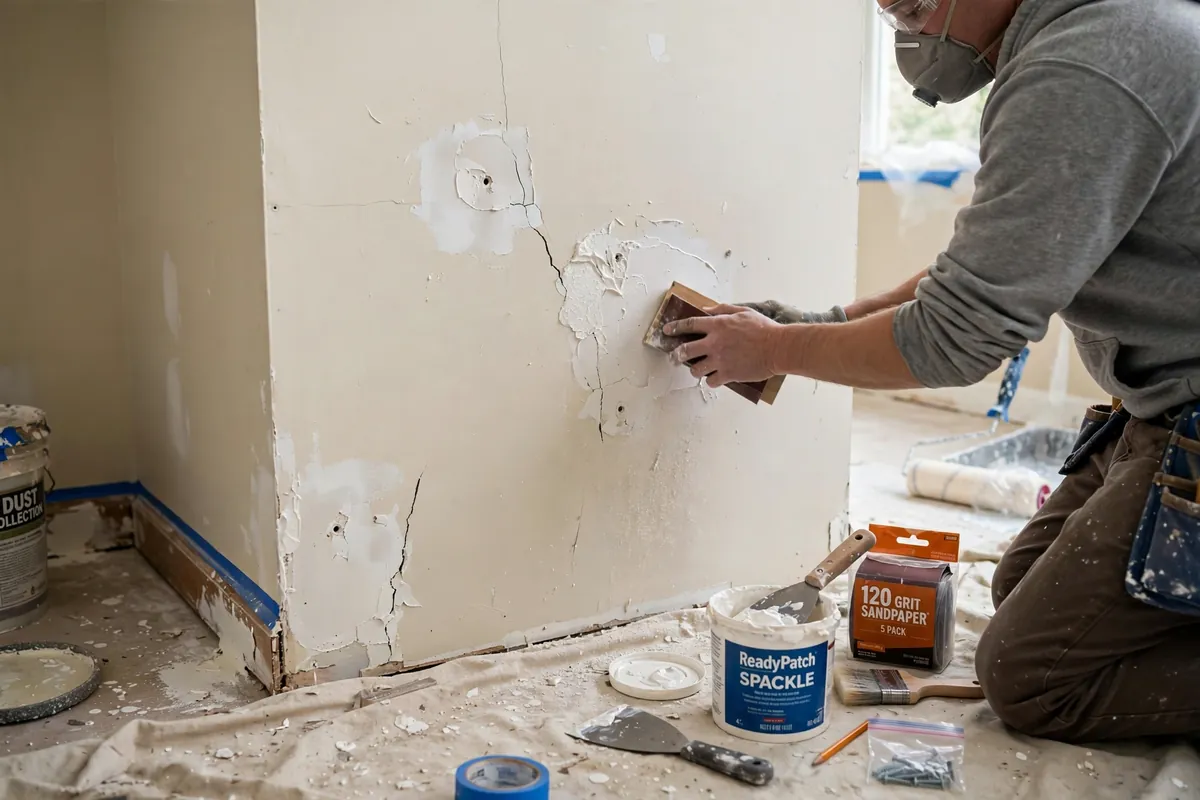
Sand all surfaces with 120-grit sandpaper to scuff the existing finish — you are not removing it, just creating tooth for primer to grip. Sand profiles and details by hand; flat areas can use an orbital sander. Wipe dust with a tack cloth. For glossy varnished cabinets, consider liquid deglosser as a supplement (not replacement) for sanding.
Step 4: Prime with the Right Product
Use a bonding primer — shellac-based (BIN) or high-adhesion acrylic (STIX). Standard wall primer is inadequate for cabinets. Apply one full coat, let dry per manufacturer directions, then lightly sand with 220-grit and tack-cloth again. Primer reveals imperfections; fill dings with wood filler, sand smooth, and spot-prime.
Step 5: Paint with Cabinet-Grade Enamel
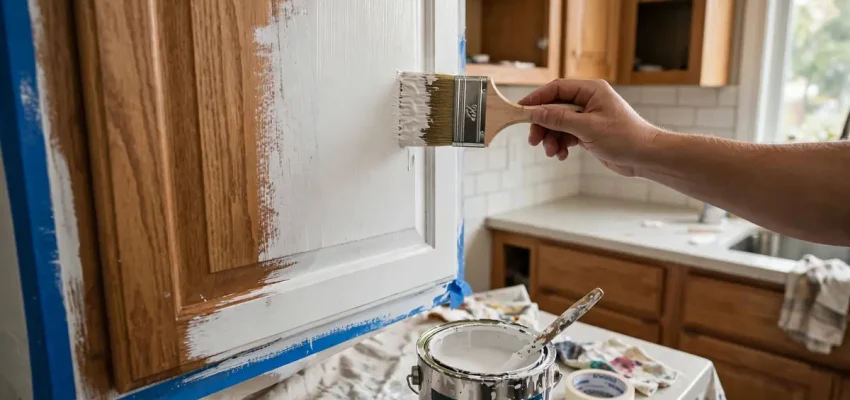
Use acrylic-alkyd hybrid enamel or urethane-trim enamel (Benjamin Moore Advance, Sherwin-Williams Emerald Urethane) — not wall paint. These self-level for a smooth finish and cure rock-hard. Apply two thin coats with a high-quality brush or sprayer, sanding lightly with 220-grit between coats. Thin coats prevent drips and cure harder than thick ones.
Step 6: Cure Before Reassembly
This is the hardest step: wait. Paint feels dry in hours but takes 2 to 4 weeks to fully cure to maximum hardness. Reinstall doors carefully after 48 hours minimum, but treat cabinets gently for a month — no slamming, no harsh cleaners. Rushing this ruins otherwise perfect work.
Best Paint for Kitchen Cabinets
Professional cabinet painters overwhelmingly recommend: Benjamin Moore Advance (alkyd-hybrid, excellent leveling, 16-hour recoat), Sherwin-Williams Emerald Urethane Trim Enamel (hard finish, great durability), or General Finishes Milk Paint (for furniture-style finishes). Budget $60 to $90 per gallon — you need 2 to 3 gallons for an average kitchen. Cheap paint on cabinets is false economy; the labor dwarfs material cost.
Finish choice: satin is the professional standard for cabinets — wipeable without the harsh glare of semi-gloss. Our paint sheen guide for USA homes explains sheen selection in detail.
Spraying vs Brushing Cabinets
Spraying delivers the smoothest, most factory-like finish — no brush marks. HVLP or airless sprayers ($200 to $400 to buy, $75/day to rent) are the pro choice. But spraying requires masking the entire kitchen, ventilation, and practice to avoid runs. Brushing with quality brushes and self-leveling enamel achieves excellent results with less setup — and most DIYers get better results brushing than attempting their first spray job on cabinets.
Professional cabinet painters almost always spray doors and drawer fronts (done in a shop or garage) and brush or roll the cabinet boxes in place. This hybrid approach balances quality and practicality.
How to Paint Kitchen Cabinets Without Sanding?
Liquid deglossers and bonding primers are marketed as “no-sand” solutions. Reality: they help, but they do not replace sanding for long-term durability. On cabinets in good condition with intact finish, a thorough degrease + liquid deglosser + bonding primer can work. On worn, glossy, or damaged cabinets, sanding is non-negotiable. Given that cabinet painting takes 40+ hours of labor, the 4 hours of sanding is cheap insurance.
Common Cabinet Painting Mistakes
Skipping the cleaning step. Grease = peeling. Always degrease twice.
Using wall paint. Wall paint stays soft, marks easily, and cannot handle cabinet abuse. Always use cabinet-grade enamel.
Painting over damaged finish. Peeling or flaking existing finish must be stripped or fully sanded smooth. Paint does not fix bad substrates.
Reassembling too soon. Soft paint dents, sticks, and peels when doors are rehung early. Wait the full cure time.
Ignoring the interiors. Paint the door backs and drawer fronts fully — partial painting looks unfinished when opened. Cabinet box interiors can be left unpainted unless visible.
Cost: DIY vs Professional Cabinet Painting
DIY materials run $200 to $500 (primer, paint, sandpaper, brushes, TSP). Professional cabinet painting costs $3,000 to $10,000 depending on kitchen size — see our cabinet painting cost in USA for detailed breakdowns. The pro premium buys spraying equipment, dust-free environments, and experience that shows in the finish.
Consider your kitchen’s value: in a $400,000+ home, professional spraying is worth it. In a starter home or rental, careful DIY delivers 80 percent of the result for 10 percent of the cost.
How Long Do Painted Cabinets Last?
Professionally painted cabinets with quality enamel last 8 to 12 years with normal use. High-traffic areas (around handles, trash pullouts) show wear first — keep touch-up paint for these spots. Careful DIY jobs last 5 to 8 years. Longevity factors: prep quality, paint grade, cure time, and cleaning habits (use gentle cleaners, not abrasives).
Color Choices for Painted Cabinets
White and off-white remain the top choice — timeless, brightening, and resale-friendly. Navy, forest green, and charcoal are popular for islands or lower cabinets paired with white uppers. For resale-focused palettes, see best paint colors for resale value USA. Avoid trendy colors on all cabinets; use them on the island only for easy future changes.
Prepping Different Cabinet Materials
Solid wood cabinets are the ideal candidates — they sand well, accept primer beautifully, and deliver the most durable finish. Oak’s open grain can be filled for a smooth modern look or left visible for character; filling adds labor but transforms the aesthetic. Maple and cherry paint exceptionally well with minimal prep beyond standard cleaning and scuff-sanding.
MDF (medium-density fiberboard) paints very well — its smooth, grain-free surface is ideal for painted finishes. Many high-end painted cabinets are MDF for exactly this reason. Ensure edges are sealed; raw MDF edges absorb paint unevenly. A shellac-based primer seals MDF perfectly.
Laminate cabinets require extra attention: thorough degreasing, aggressive scuff-sanding (150-grit), and a high-adhesion bonding primer like STIX. The slick surface is the challenge — proper prep overcomes it. Expect slightly shorter lifespan than wood (5 to 8 years) but still a dramatic improvement.
Thermofoil (vinyl-wrapped) is the riskiest. If the vinyl is intact and well-adhered, scuff-sanding plus shellac primer can work. If it is peeling anywhere, painting will fail — the vinyl continues lifting underneath. In that case, peel all thermofoil first (heat gun helps), then treat as raw MDF underneath. For cost comparisons with replacement, see cabinet painting cost in USA versus new cabinet pricing.
Kitchen Workflow: Painting in Phases
You do not need to demolish your kitchen routine. Professional painters often work in phases: uppers one week, lowers the next — keeping half your kitchen functional. DIYers can do the same: remove and paint upper doors first (reinstall), then tackle lowers. Label meticulously; phase painting doubles the importance of the numbering system.
Set up a dedicated painting station in a garage or spare room with sawhorses, good lighting, and dust control. Doors dry flat on sawhorses — never lean wet doors against walls. Maintain 50 to 85°F and moderate humidity for optimal paint curing. Rushing in cold or humid conditions extends dry times and risks finish defects.
Plan meals around the disruption: the no-door phase lasts 3 to 5 days professionally, longer for DIY. Paper plates, a toaster oven, and a sense of humor get most families through. The temporary inconvenience pales against the years of enjoyment from your transformed kitchen. For broader kitchen renovation planning, our kitchen remodel cost in USA 2026 guide covers full project budgets.
Beyond the painting itself, successful cabinet projects coordinate with surrounding work: our interior house painting cost in USA 2026 helps budget adjacent wall painting, paint sheen guide for USA homes aids finish selection, and how to prepare walls for painting USA covers prep for surrounding areas. For contractor vetting, see how to choose a house painter in USA.
Frequently Asked Questions
Can I paint laminate or thermofoil cabinets?
Laminate: yes, with thorough sanding and bonding primer. Thermofoil (vinyl-wrapped): risky — if the vinyl is peeling, painting fails. If intact, scuff-sand and use shellac primer, but expect shorter lifespan than wood cabinets.
Should I paint or replace cabinets?
Paint if boxes are solid and layout works — $200 to $1,000 DIY or $3,000 to $10,000 pro versus $15,000 to $30,000+ for replacement. Replace if boxes are damaged, layout is dysfunctional, or you want structural changes. For full kitchen budgeting, see kitchen remodel cost in USA 2026.
How do I clean painted cabinets?
Damp microfiber cloth with mild dish soap. Avoid abrasive cleaners, scrub pads, and harsh chemicals that dull the finish. Wipe spills promptly — standing water eventually penetrates even quality enamel.
Mastering how to paint kitchen cabinets in USA homes is about respecting the process: clean obsessively, sand thoroughly, prime correctly, use cabinet-grade enamel, and cure patiently. Skip any step and the finish tells on you within months. Do every step right and your $500 material investment looks like a $20,000 cabinet replacement — a transformation few other projects match dollar for dollar.