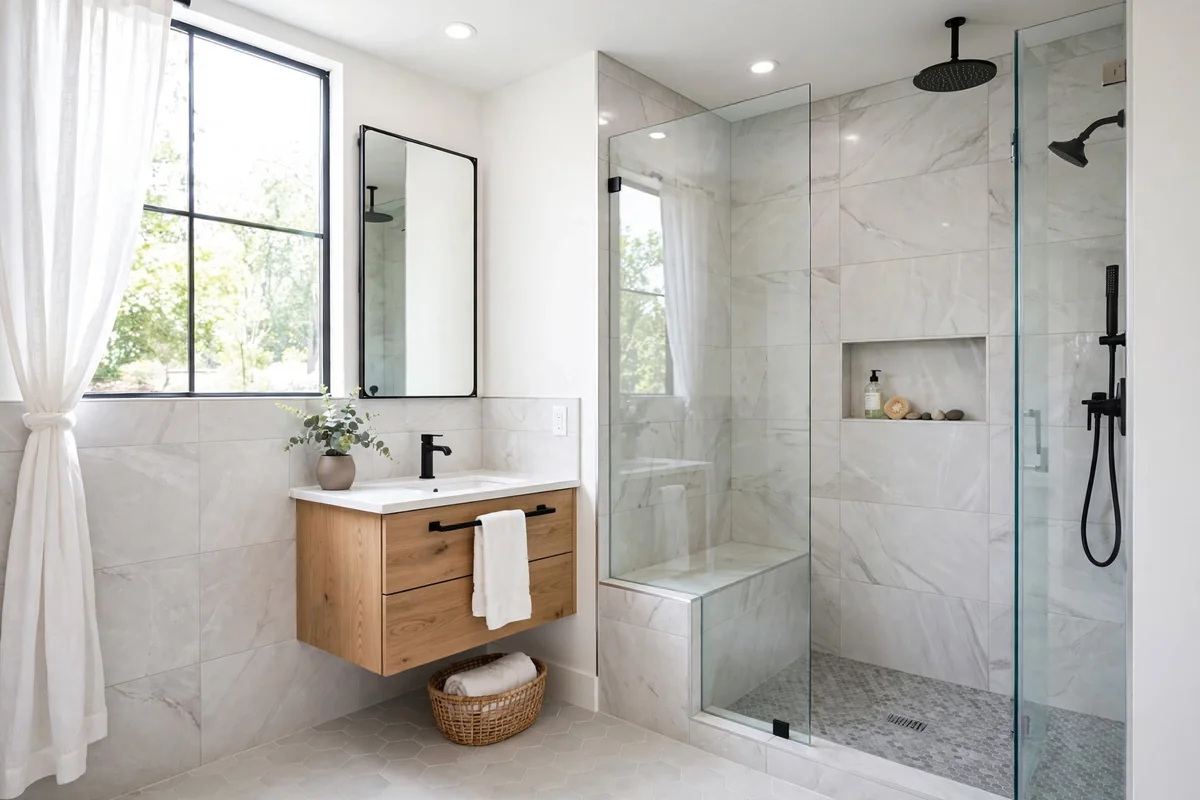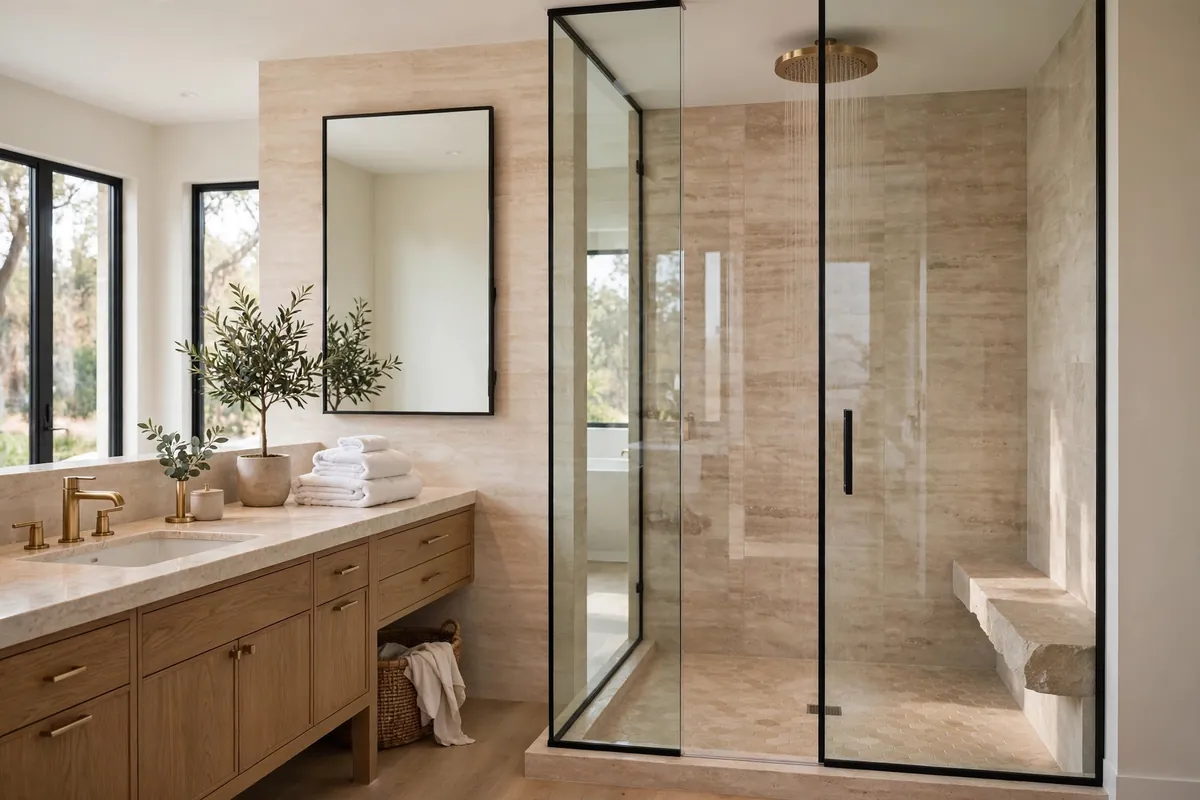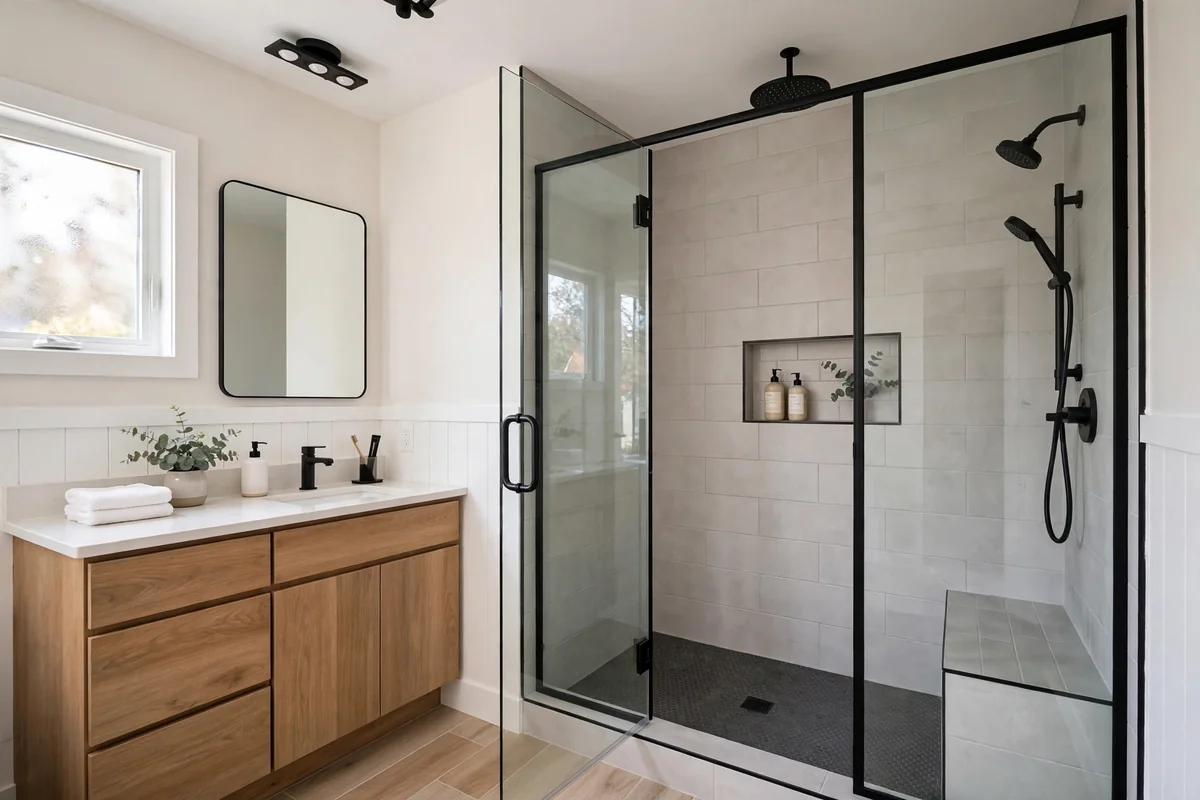

Excited about a new bathroom but not sure where to start? Learning how to plan a bathroom remodel USA homeowners complete successfully is the difference between a dream renovation and a stressful money pit. Bathroom remodels involve more trades, tighter spaces, and stricter waterproofing demands than almost any other home project — planning is not optional, it is essential.
The homeowners who love their finished bathrooms share one trait: they planned thoroughly before demolition started. When you understand how to plan a bathroom remodel properly — budgeting, layout, materials, contractor selection, timeline — you control the project instead of reacting to it. This step-by-step guide walks through the entire planning process used by successful USA renovators.
Step 1: Define Your Goals and Scope
Start with honest answers: Why are you remodeling? Fixing functional problems (leaks, mold, failing fixtures) demands different priorities than cosmetic updating or luxury upgrading. A growing family needs different solutions than empty nesters aging in place. Write down your top three goals — they become your decision filter when choices get overwhelming.
Next, define scope honestly. The three tiers from our bathroom remodel cost in USA 2026 guide — cosmetic ($3,000–$8,000), midrange ($8,000–$18,000), full gut ($18,000–$35,000+) — anchor your planning. Most planning failures come from champagne scope on a beer budget; matching ambition to resources from day one prevents mid-project crises. Be realistic about what your budget actually buys in your market.
Step 2: Set a Realistic Budget
Build your budget bottom-up, not top-down. List every component — demolition, plumbing, electrical, tile, vanity, fixtures, flooring, lighting, paint, permits — with estimated costs from local research or contractor consultations. Add 15–20% contingency for hidden conditions (water damage, outdated wiring) that emerge in 30–40% of bathroom demolitions.
The budgeting rule for how to plan a bathroom remodel USA financial advisors recommend: spend 3–7% of your home’s value on bathrooms total. A $300,000 home supports $9,000–$21,000 in bathroom investment. Exceeding this range rarely returns proportionally at resale — you are gifting equity to the next buyer. Track spending in a simple spreadsheet throughout; weekly budget reviews catch overruns while you can still adjust.
Step 3: Design the Layout
Layout decisions drive everything else — and they are the hardest to change later. Start by asking: does the current layout work? If yes, keep it. Moving plumbing is the fastest way to inflate costs ($500–$1,500 per relocated drain) and extend timelines. The vast majority of successful bathroom remodels preserve existing fixture locations.
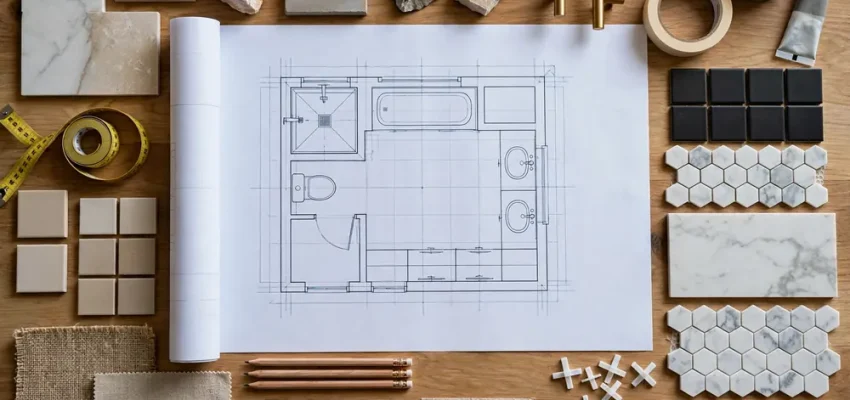
If the layout genuinely fails — a door that hits the vanity, no storage, an unusable corner — sketch alternatives on graph paper or use free online planners. Respect minimum clearances required by USA building codes: 21 inches in front of toilets and vanities, 30×30 inches minimum shower footprint (though 36×36 is far more comfortable), 24 inches of clearance for door swings. For small bathrooms, small bathroom remodel ideas USA offers layout-specific strategies.
Consider future needs during layout planning. Aging-in-place features — curbless showers, comfort-height toilets, grab-bar blocking in walls — cost little to include during renovation but enormously later. Even if you are young, these features broaden resale appeal. See accessible bathroom design USA guide for universal design principles.
Step 4: Choose Materials and Fixtures
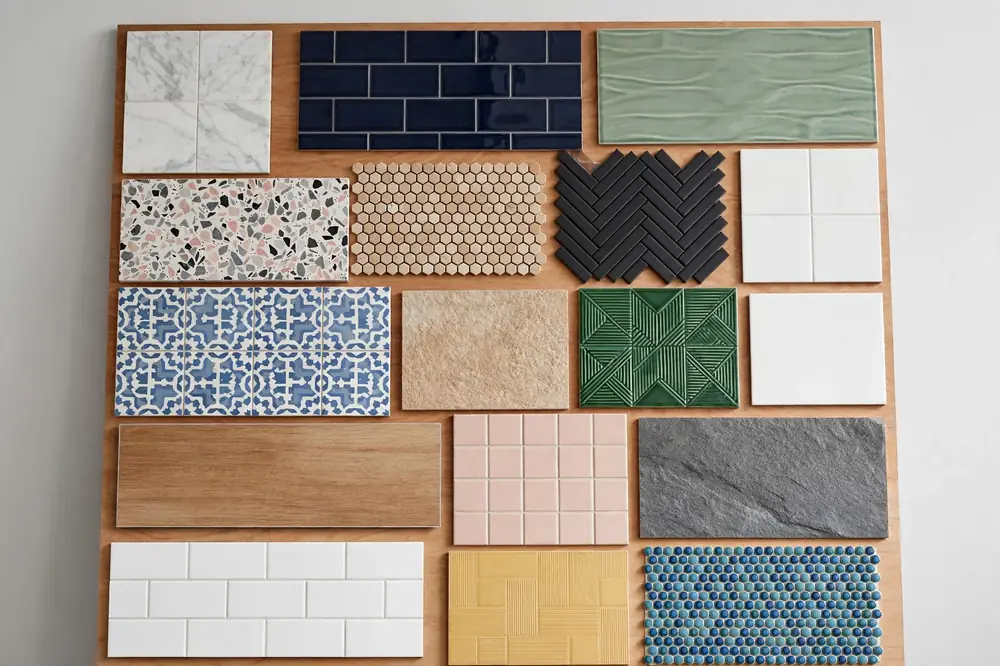
Material selection is where budgets live or die. The planning discipline that separates successful projects: choose everything before demolition, not during. Create a selection sheet listing every material — tile (field, accent, floor), grout color, vanity, countertop, faucets, shower system, toilet, lighting, mirror, hardware, paint — with specific product names and sources.
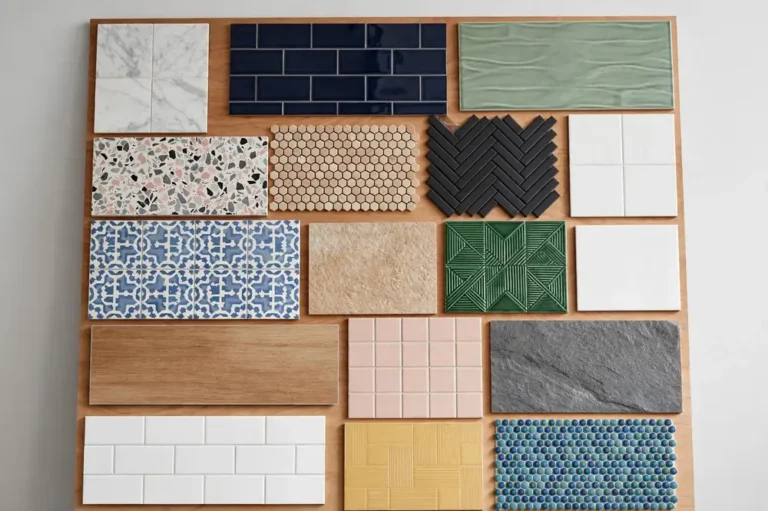
Order of selection matters. Start with the dominant surfaces (floor and shower tile), then coordinate secondary elements. Bring physical samples home — tile looks dramatically different under your bathroom’s lighting than in a showroom. The timeless combination that anchors how to plan a bathroom remodel successfully for resale: white or light-gray palette, porcelain tile that mimics natural stone, quartz countertop, brushed nickel or matte black fixtures.
Verify lead times before finalizing. Custom vanities (6–12 weeks), specialty tile (4–8 weeks), and certain fixtures can stall projects for months if ordered late. Confirm every delivery date in writing and build the construction schedule around the longest lead item, not the other way around.
Step 5: Hire the Right Contractor
Bathroom remodeling requires multiple trades — you need either a general contractor who coordinates everything or a bathroom-specialist remodeler. Get three detailed written bids specifying identical scope; vague bids cannot be compared fairly. Verify licensing (required in most USA states for plumbing and electrical), insurance (general liability + workers’ comp), and references from recent bathroom projects specifically.
Red flags: bids 30%+ below others (something is missing), demands for large upfront payments (10–20% deposit is standard; never 50%+), no written contract, unwillingness to pull permits. The cheapest bid is rarely the best value in bathroom work — waterproofing mistakes cost tens of thousands to fix. Our how to hire a bathroom contractor USA guide covers vetting in depth.
Clarify who does what: demolition, plumbing, electrical, tile, drywall, painting, cleanup, debris removal. Ambiguity breeds disputes. A detailed written scope — even a simple bullet list both parties sign — prevents most contractor conflicts.
Step 6: Handle Permits and Inspections
Most USA jurisdictions require permits for bathroom remodels involving plumbing, electrical, or structural changes. Permit fees run $200–$800. Your contractor should handle applications, but confirm this explicitly — unpermitted work voids insurance coverage and creates major problems at resale.
Understand the inspection sequence: rough-in inspection (plumbing and electrical before walls close), then final inspection after completion. Schedule inspections promptly; waiting for inspectors is a common delay source. Failed inspections require corrections and re-inspection — hire contractors who know local codes to minimize this risk. For plumbing-specific permit context, see bathroom plumbing rough-in cost USA.
Step 7: Plan the Timeline
Realistic timelines for how to plan a bathroom remodel USA projects: cosmetic refresh 1–2 weeks, midrange remodel 3–6 weeks, full gut renovation 6–10 weeks. Add 2–4 weeks for material lead times before construction starts. Contractors’ estimates tend toward optimism; add 15–20% buffer for a realistic expectation.
Sequence the work logically: demolition → plumbing rough-in → electrical rough-in → inspections → waterproofing → tile → drywall/paint → vanity and fixtures → flooring → final electrical and plumbing → final inspection → cleanup. Each phase depends on the previous one; rushing the sequence causes rework. If this is your only bathroom, plan alternative arrangements — a gym membership for showers ($30–$60/month) is cheaper than a hotel.
Step 8: Prepare for Construction
Before demolition day: clear the bathroom completely, protect adjacent floors with ram board, seal doorways with plastic sheeting, designate a contractor bathroom if applicable, and photograph surrounding areas for damage documentation. Set up a communication rhythm — weekly scheduled check-ins prevent the small misunderstandings that snowball into disputes.
Designate a decision-maker for day-to-day questions. Contractors need quick answers on minor issues; designating one person to respond within hours keeps work flowing. Keep your selection sheet accessible — most mid-project confusion traces to forgotten material choices.
Common Planning Mistakes to Avoid
Mistake 1: Skipping the contingency fund. The number one planning failure in how to plan a bathroom remodel USA projects. Without 15–20% contingency, the first surprise (and there is almost always one) derails your budget and forces painful compromises.
Mistake 2: Choosing materials during construction. Decision fatigue under time pressure produces regret. Every selection made in a showroom under no deadline beats the same selection made frantically while workers wait. Finalize everything before demolition — this single discipline prevents most remodeling misery.
Mistake 3: Ignoring the “boring” infrastructure. Homeowners splurge on tile while neglecting the exhaust fan, shutoff valves, or GFCI protection. Five years later, the beautiful tile surrounds a moldy, poorly ventilated bathroom. Allocate budget to invisible essentials first, visible finishes second.
Mistake 4: Hiring on price alone. The lowest bid in bathroom remodeling usually means omitted scope, unlicensed workers, or skipped waterproofing steps. The most expensive callback in renovation is redoing a failed shower — $8,000–$15,000 to fix what a qualified contractor would have done right for $2,000 more initially. Vet thoroughly using how to hire a bathroom contractor USA.
Mistake 5: Forgetting daily logistics. If this is your only bathroom, where will you shower for 4–6 weeks? Planning the answer before demolition — gym membership, neighbor arrangement, portable solutions — prevents crisis-mode scrambling that sours the whole project experience.
Planning Tools and Resources
Free online bathroom planners (from major USA home improvement retailers) let you experiment with layouts in 3D before committing. Graph paper and a tape measure work fine for simple projects — draw your bathroom to scale (1 square = 6 inches) and cut paper templates for fixtures to test arrangements physically.
Create a project binder — physical or digital — containing your budget spreadsheet, selection sheet with product links, contractor contract, permit documents, and inspiration photos. This becomes your single source of truth when questions arise mid-project. Share relevant sections with your contractor to ensure alignment. Good planning documentation also helps if you later tackle related projects like walk-in shower installation upgrades or bathroom flooring replacements, since you will already understand your bathroom’s infrastructure.
Frequently Asked Questions
How far in advance should I plan a bathroom remodel?
Start planning 2–4 months before your target construction date. This allows time for design decisions, contractor bidding, permit applications, and material orders with realistic lead times. Rushing planning is the top cause of remodeling regret.
What should I prioritize in a bathroom remodel budget?
Waterproofing and plumbing (invisible but critical), then tile and shower (largest visual impact), then vanity and fixtures. Never cut corners on waterproofing to afford prettier tile — water damage destroys everything it touches.
Do I need a designer for a bathroom remodel?
Not always, but a few hours of professional design help ($200–$500) pays for itself in small or awkward bathrooms where layout expertise matters most. For straightforward cosmetic updates, careful homeowner planning suffices — which is exactly what this guide to how to plan a bathroom remodel provides.
Knowing how to plan a bathroom remodel USA homeowners complete happily comes down to discipline: define scope honestly, budget bottom-up with contingency, finalize selections before demolition, hire vetted licensed professionals, and communicate consistently. Plan thoroughly, and the construction phase becomes the exciting part — watching your vision take shape, one tile at a time.