Learning how to weatherstrip doors is one of the highest-return DIY projects an American homeowner can tackle. Gaps around doors are among the biggest sources of energy waste in a typical home — the U.S. Department of Energy estimates that air leaks around doors and windows can account for a significant share of heating and cooling costs. The good news: weatherstripping is cheap, usually $20 to $60 in materials per door, and a first-timer can finish a door in under an hour. This guide walks you through everything, including how weatherstripping fits into your broader strategy to lower your heating bill this winter.
Why Weatherstripping Matters
Even a 1/8-inch gap around a door adds up to a surprisingly large hole when you total the perimeter — roughly the equivalent of leaving a small window cracked open all winter. That gap lets heated air escape in winter and cooled air escape in summer, while letting in dust, pollen, insects, and noise. Proper weatherstripping seals those gaps, and it is the single most cost-effective air-sealing upgrade for most homes.
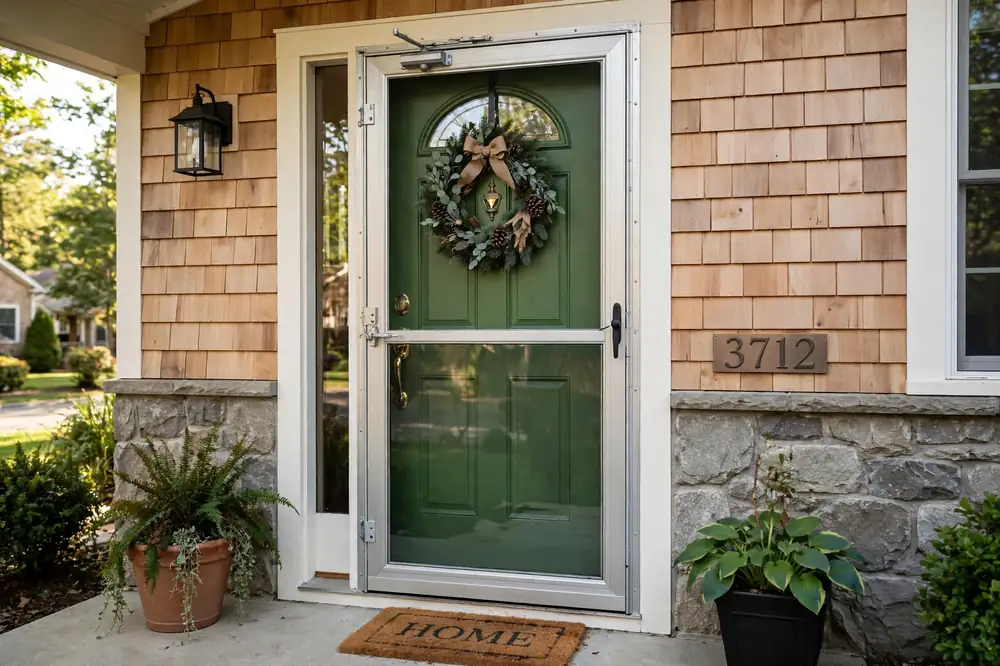
Weatherstripping also protects your doors themselves. By blocking wind-driven rain and moisture, it reduces the rot and warping that plague exterior doors in wet climates. Pair it with a storm door installation and you create a two-layer defense that dramatically cuts drafts at your entryways.
How to Tell If Your Doors Need Weatherstripping
Start with the daylight test: on a bright day, stand inside with the door closed and look for light seeping around the edges. Any visible light means air is moving through. Next, try the dollar-bill test — close the door on a dollar bill at several points around the frame. If it slides out easily, the seal is weak there. On a windy day, hold a lit incense stick or a damp hand near the door edges and feel for air movement.
Also inspect what is already there. Old foam tape compresses permanently over time, vinyl V-strips crack, and door sweeps wear down. If your weatherstripping is more than five years old, it is probably underperforming even if it looks okay. This same inspection habit applies to windows — see our guide on how to fix a drafty window for the window version of these tests.
Types of Door Weatherstripping
Foam Tape
Self-adhesive foam tape is the cheapest and easiest option, typically $5 to $10 per door. It comes in various thicknesses and works well for irregular gaps. The downside is lifespan — expect one to three years before it compresses and needs replacement. Best for renters and quick fixes.
V-Strip (Tension Seal)
V-strip is a durable plastic or metal strip folded into a V shape that springs open to seal gaps. It lasts five to ten years, costs $8 to $15 per door, and works beautifully on the sides and top of doors and on double-hung windows. It is slightly trickier to install than foam tape but far more durable.
Door Sweeps
Door sweeps attach to the bottom of the door and seal the gap against the threshold. They come in brush, vinyl, and aluminum styles, costing $8 to $20. The bottom of the door is usually the leakiest spot, so a sweep is the highest-impact single piece. If you can only do one thing, do this.
Tubular Rubber and Silicone Gaskets
These premium options create an airtight compression seal similar to a refrigerator door. They cost $15 to $30 per door and last 10+ years. Silicone versions handle extreme temperatures without cracking, making them ideal for harsh climates from Minnesota winters to Arizona summers.
Magnetic Weatherstripping
Used mainly on steel doors, magnetic strips work like a refrigerator seal — the magnet pulls the strip tight against the steel door. Excellent sealing performance, but only compatible with steel doors.
How to Weatherstrip Doors: Step by Step
Step 1: Measure and Buy
Measure the height of both sides and the width of the top of your door frame. Buy about 10 percent extra to allow for mistakes. Choose your material based on gap size: measure the largest gap with a ruler or stack of coins. Foam tape suits gaps up to 1/4 inch; V-strip and tubular gaskets handle larger or uneven gaps.
Step 2: Remove Old Weatherstripping
Pull off old adhesive strips, pry out old nails or staples, and scrape away residue with a putty knife. Clean the surface with rubbing alcohol so new adhesive bonds well. If the frame has rot or damage, repair it first — weatherstripping cannot seal a crumbling frame. For badly damaged frames, our front door replacement cost guide helps you weigh repair versus replacement.
Step 3: Install the Side and Top Strips
Start with the hinge side, then the latch side, then the top. For adhesive types, peel and press firmly, working in short sections to keep it straight. For nail-on types, position the strip so the door compresses it slightly when closed — about 50 percent compression is ideal. Too loose and air leaks; too tight and the door will not latch properly.
Step 4: Install the Door Sweep
Measure the door width and cut the sweep to fit. Most attach with screws to the interior face of the door bottom. Position it so the bristles or vinyl just brush the threshold — close the door and check from outside that no daylight shows underneath. Adjust as needed.
Step 5: Test and Adjust
Close the door and repeat the dollar-bill and daylight tests. The door should latch easily without slamming. If it is hard to close, the stripping is too thick or mispositioned — adjust rather than forcing it, since a door that will not latch gets left unlatched, defeating the purpose.
Weatherstripping Different Door Types
Entry Doors
Entry doors deserve the best seal you can install — tubular silicone or kerf-mounted foam on the frame plus a quality sweep. These doors see the most use and the worst weather exposure. If your entry door is old and warped, weatherstripping helps but cannot fix structural problems; consider whether choosing a new entry door makes more sense.
Sliding Patio Doors
Sliding doors leak at the meeting rails and along the tracks. Replace worn pile weatherstripping in the tracks and add V-strip where the panels meet. If the door is hard to slide, the rollers may need adjustment first — weatherstripping will not help a misaligned door. See sliding door repair guide for the full fix.
Garage-to-House Doors
The door between your garage and house is a fire-safety and air-quality boundary, not just a comfort issue. It should be weatherstripped tightly to keep car exhaust and garage fumes out of living spaces. Use fire-rated materials and make sure the door self-closes. This pairs with garage insulation for a complete garage envelope upgrade.
Interior Doors (Special Cases)
Most interior doors should not be weatherstripped — your HVAC system needs return airflow. The exception is doors to unconditioned spaces like attics, basements, or bonus rooms over garages. Seal those to keep conditioned air where it belongs.
Costs: What You Will Spend
DIY weatherstripping costs $20 to $60 per door in materials, depending on the products you choose. A whole-house project covering five exterior doors typically runs $100 to $250. Hiring a handyman costs $75 to $150 per door including materials — worth it if you have many doors or limited mobility. Either way, the payback is fast: sealing major door leaks can save $50 to $150 per year on energy bills in a typical American home.
Maintenance and Replacement Schedule
Inspect weatherstripping every fall before heating season. Foam tape lasts one to three years, V-strip five to ten, and silicone a decade or more. Door sweeps wear with foot traffic and may need replacement every three to five years. Keep spare material on hand — re-stripping a door is a 20-minute job once you have done it once. Combine this with your annual window cleaning routine and you will never forget.
Common Mistakes to Avoid
The biggest mistake is using material too thick for the gap, which prevents the door from latching. Second is neglecting the bottom — the sweep matters more than the sides. Third is weatherstripping over dirt, old adhesive, or rot, which guarantees poor adhesion. Fourth is forgetting that doors settle and frames shift; re-check the seal yearly. Finally, do not weatherstrip a door that is fundamentally broken — a warped or rotted door needs replacement, not tape.
FAQs: How to Weatherstrip Doors USA
What is the best weatherstripping for exterior doors?
Silicone tubular gaskets offer the best combination of seal quality and lifespan for most exterior doors. For steel doors, magnetic weatherstripping is excellent. Always pair frame stripping with a quality door sweep.
How much money does weatherstripping save?
Sealing major air leaks around doors can cut heating and cooling costs by 5 to 15 percent in a leaky home. For a typical household spending $2,000 a year on energy, that is $100 to $300 back in your pocket annually.
Can I weatherstrip in winter?
Yes, but adhesive products bond best above 50°F. In cold weather, warm the surface with a hair dryer before applying adhesive strips, or use nail-on products that do not depend on adhesive.
Should I weatherstrip my garage door too?
The pedestrian door between garage and house, absolutely. The big overhead garage door benefits from bottom and side seals as well — worn seals there are a major heat leak in attached garages.
How do I weatherstrip a door with an uneven gap?
Use compressible materials like tubular foam or V-strip that adapt to varying gap widths. For severely uneven gaps caused by a warped door or settled frame, address the underlying alignment issue first.
Conclusion
Knowing how to weatherstrip doors is a skill that pays you back every month on your energy bill. For $20 to $60 and under an hour per door, you seal one of your home’s biggest air leaks, improve comfort, and keep out dust and pests. Start with the door sweep — the highest-impact piece — then work around the frame with quality stripping. For the windows, the same air-sealing mindset applies — see our window warranty guide for what good windows should deliver. Inspect yearly, replace as needed, and enjoy a tighter, more comfortable home.