An uninsulated garage can swing from sweltering in summer to freezing in winter — and if your garage is attached to your home, those temperature extremes don’t stay in the garage. They seep through shared walls, drive up your energy bills, and make any room above the garage uncomfortable year-round. Learning how to insulate your garage is one of the most cost-effective energy upgrades an American homeowner can make — right up there with garage door replacement for impact.
The good news: garage insulation is a manageable project with costs ranging from $500 to $2,500 depending on your approach. In this guide, we’ll cover every surface — walls, ceiling, garage door, and even the entry door — with material options, R-value recommendations by climate zone, and step-by-step guidance for DIYers and those hiring pros.
Why Insulate Your Garage? The Real Benefits
Before diving into how to insulate your garage, let’s be clear about what you’re gaining. Energy savings top the list — the Department of Energy estimates that insulating an attached garage can reduce heat transfer through shared walls by up to 50 percent, directly lowering your heating and cooling costs.
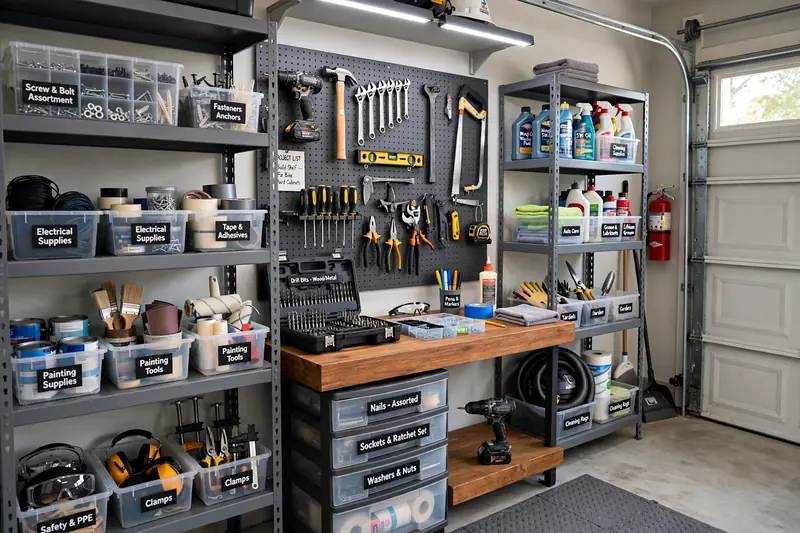
Comfort is the second benefit. If you use your garage as a workshop, gym, laundry area, or home office, insulation transforms it from unusable in extreme weather to comfortable year-round — making your garage organization efforts far more enjoyable. Third, insulation protects what’s stored in your garage — paint, tools, electronics, and even your car suffer less in temperature-controlled spaces. Finally, insulation dramatically reduces noise, both from outside traffic and from the garage door opener itself.
Assessing Your Garage: What Needs Insulating?
Not every garage needs the full treatment. Walk through yours and check each surface:
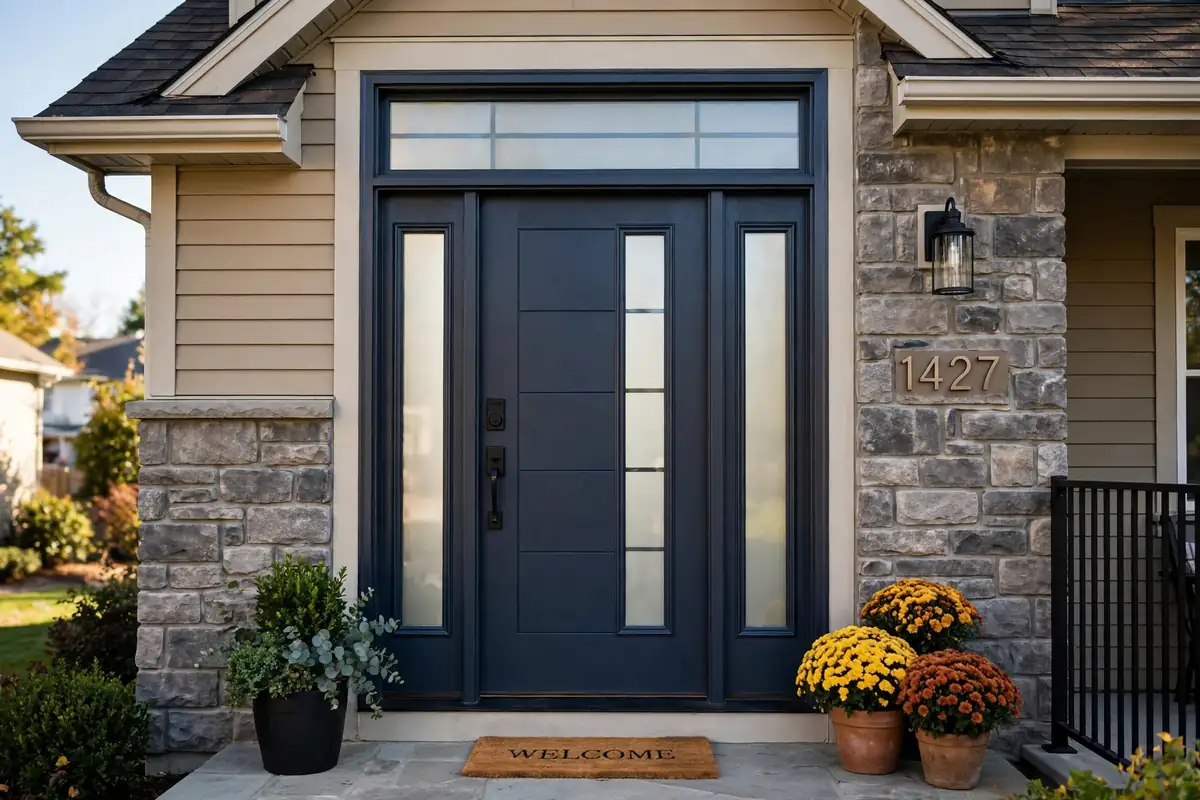
Shared walls (between garage and living space) are the highest priority — these should already be insulated to code in most US homes built after 1990, but older homes often have gaps. Exterior garage walls come next, especially if you heat or cool the garage. The ceiling matters enormously if there’s a bedroom or living space above the garage — this is the number one comfort complaint in American homes. The garage door itself is often the largest uninsulated surface. And don’t forget the entry door between garage and house — an uninsulated hollow-core door is a major energy leak.
How to Insulate Garage Walls
Wall insulation is the foundation of the project. The approach depends on whether your garage walls are finished (drywall) or unfinished (exposed studs).
Unfinished Walls: Batt Insulation
If your studs are exposed, fiberglass batt insulation is the simplest and most affordable option. Standard R-13 batts fit 2×4 walls; R-19 or R-21 batts fit 2×6 walls. A typical two-car garage needs $300 to $600 in batt materials. Wear protective gear — gloves, long sleeves, goggles, and a respirator — because fiberglass irritates skin and lungs. Cut batts slightly oversized and friction-fit them between studs, then cover with drywall for fire safety (building codes in most US jurisdictions require a thermal barrier over insulation in attached garages).
Finished Walls: Blown-In or Injection Foam
If your garage walls are already drywalled, you have two options. Blown-in cellulose or fiberglass can be installed through small holes drilled in each stud bay — a professional job costing $1,000 to $2,000 for a two-car garage. Alternatively, injection foam (like RetroFoam) is pumped into wall cavities, expanding to fill every gap. It costs more ($1,500 to $3,000) but delivers superior air sealing with R-values around R-13 to R-15 in 2×4 walls.
Fire Safety Code Requirements
This is critical: most US building codes require 5/8-inch Type X fire-rated drywall on garage walls and ceilings that adjoin living spaces. If your shared walls are unfinished, insulating them is only half the job — they must also be covered with fire-rated drywall. Check your local code before starting.
How to Insulate Your Garage Door
The garage door is typically the largest single surface in the garage and, on older doors, completely uninsulated. Learning how to insulate your garage door specifically can make a dramatic difference.
DIY Insulation Kits: $80–$200
Reflective foil kits and polystyrene panel kits are available at every Home Depot and Lowe’s in America. They typically provide R-4 to R-8 and take 2 to 4 hours to install with basic tools. Cut panels to fit each door section, secure with adhesive or retaining clips, and trim around handles and windows. This is the best bang-for-buck garage insulation upgrade.
When to Replace Instead of Insulating
If your garage door is more than 15 years old, compare the kit cost against garage door replacement cost. A new triple-layer insulated door (R-12 to R-18) costs $1,200 to $2,500 installed but delivers far better insulation, quieter operation, improved curb appeal, and a full warranty. For attached garages in cold climates, replacement often makes more sense than retrofitting.
Don’t Forget Weatherstripping
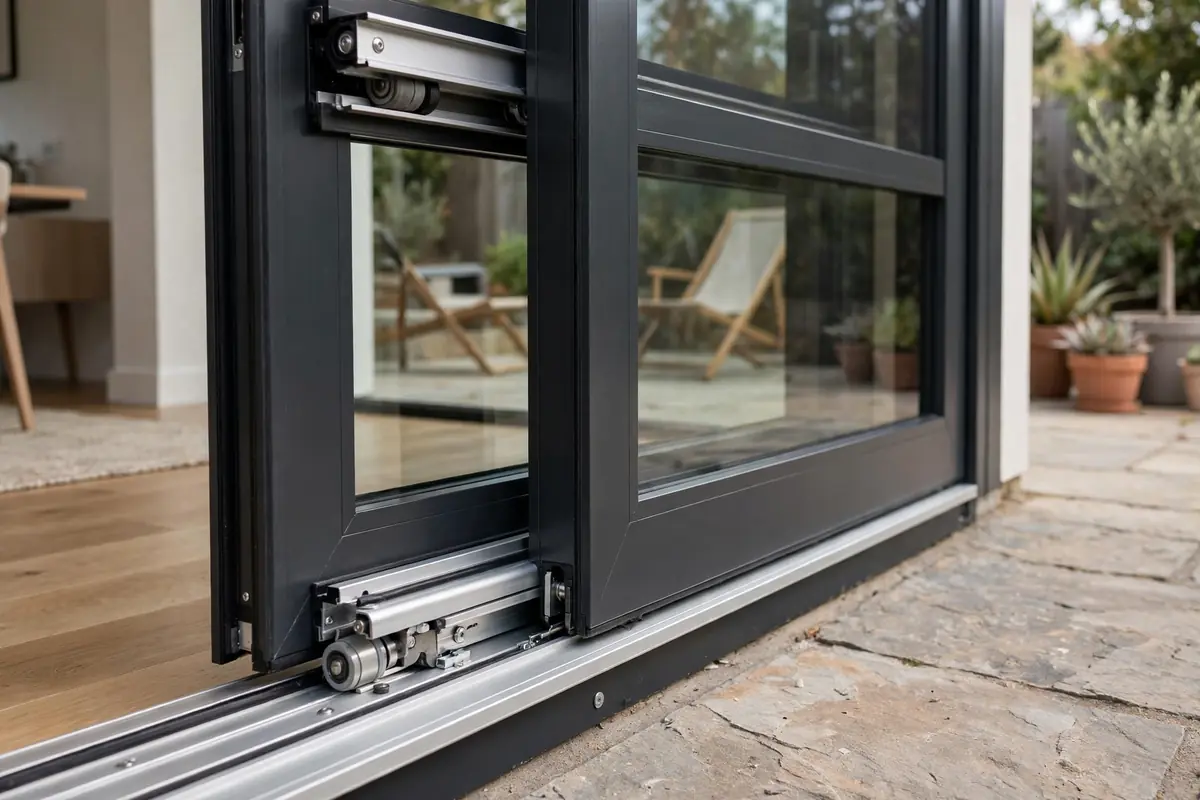
Insulation without air sealing is like wearing a winter coat with the zipper open. Replace worn bottom seals, side weatherstripping, and top seals around the garage door — similar to the seals covered in our sliding door repair guide. A complete weatherstripping kit costs $30 to $80 and takes an hour to install. Check for daylight visible around the closed door — anywhere you see light, air is leaking.
How to Insulate the Garage Ceiling
If there’s living space above your garage, ceiling insulation is the single most impactful upgrade. An uninsulated garage ceiling is the reason so many bonus rooms and bedrooms are freezing in winter and stifling in summer.
For unfinished ceilings (exposed joists), install R-30 to R-38 fiberglass batts or blown-in insulation between joists — matching the recommendation for your climate zone. Material cost for a two-car garage runs $400 to $800. Cover with 5/8-inch Type X drywall for fire code compliance.
For finished ceilings, blown-in insulation can be added through access holes, though it’s trickier overhead. Many homeowners hire this out ($800 to $1,500) because working overhead with insulation is miserable DIY work.
R-Value Recommendations by US Climate Zone
The Department of Energy’s climate zone map determines how much insulation you need. In hot climates (Zones 1-3: Florida, Texas, Southern California, Arizona), R-13 walls and R-30 ceilings are sufficient. In moderate climates (Zones 4-5: Mid-Atlantic, Pacific Northwest, Northern California), aim for R-13 to R-19 walls and R-38 ceilings. In cold climates (Zones 6-8: Upper Midwest, New England, Mountain states), use R-19 to R-21 walls and R-49 ceilings.
When learning how to insulate your garage, matching these R-values ensures you’re not under-insulating (wasting the effort) or over-insulating (wasting money with diminishing returns).
Insulation Materials Compared
Fiberglass batts are cheapest ($0.50 to $1.50 per square foot installed) and DIY-friendly but don’t air-seal. Blown-in cellulose ($1 to $2 per square foot) fills gaps better and uses recycled material. Spray foam ($2 to $5 per square foot) provides the best insulation plus air sealing but requires professional installation. Rigid foam boards ($1 to $3 per square foot) work well for garage door panels and thin applications. Reflective foil/bubble insulation is affordable but only effective as a radiant barrier in hot climates — don’t expect meaningful R-value in cold weather.
Should You Heat or Cool the Insulated Garage?
Once you’ve learned how to insulate your garage, you might wonder about adding climate control. A ductless mini-split heat pump ($2,000 to $4,000 installed) is the most efficient option — providing both heating and cooling without extending your home’s ductwork. Electric space heaters work for occasional use but are expensive to run continuously. Never use unvented combustion heaters (kerosene, propane) in an attached garage — the carbon monoxide risk is lethal.
Important: if you actively heat or cool the garage, local building codes may classify it as conditioned space, triggering additional requirements for insulation levels, vapor barriers, and fire separation. Check with your local building department.
Total Cost of Insulating a Garage
For a standard two-car attached garage in the USA, here’s what comprehensive insulation costs in 2026: DIY wall batts plus drywall ($800 to $1,500), professional blown-in walls ($1,000 to $2,000), garage door insulation kit ($80 to $200), ceiling insulation DIY ($400 to $800), weatherstripping ($30 to $80), and entry door replacement with insulated steel door ($200 to $500). A full DIY project runs $1,000 to $2,000; hiring professionals for everything costs $2,500 to $5,000.
Frequently Asked Questions
Is it worth insulating a detached garage?
It depends on use. For vehicle storage only, insulation has limited payback. But if you use a detached garage as a workshop, gym, or office, insulation is absolutely worth it for comfort and to protect equipment from temperature extremes.
Can I insulate my garage myself?
Yes — wall batts, garage door kits, and weatherstripping are all manageable DIY projects. Ceiling insulation and spray foam are better left to professionals. Always follow fire code requirements for drywall coverage in attached garages.
What’s the best insulation for garage walls?
For exposed studs, fiberglass batts (R-13 or R-19) offer the best value. For finished walls, blown-in cellulose or injection foam provide good results without tearing out drywall. In cold climates, consider supplementing with rigid foam for higher R-values.
Does insulating my garage really lower energy bills?
For attached garages, yes — significantly. The shared wall and ceiling are major thermal bridges. The DOE estimates that proper garage insulation can cut heat transfer through these surfaces by up to half, with noticeable reductions in heating and cooling costs.
Learning how to insulate your garage is a project that pays dividends in comfort, energy savings, and usability for years. Start with the highest-impact upgrades — the garage door kit and weatherstripping for quick wins, then walls and ceiling for the full transformation. Pair it with spring maintenance, the right entry door, or even a front door upgrade for a complete energy-efficient entryway. Your energy bills, your workshop projects, and anyone sleeping above the garage will all be better for it.