
If your energy bills keep climbing and some rooms never feel comfortable, your attic may be the culprit. Understanding attic insulation cost is the first step toward one of the highest-return upgrades a USA homeowner can make. Heat rises, and in winter it escapes straight through a poorly insulated attic. In summer, a superheated attic radiates warmth down into your living space and forces your air conditioner to work overtime. Adding or upgrading attic insulation tackles both problems at once.
Attic insulation consistently ranks among the most cost-effective home improvements because the project is relatively affordable and the energy savings start immediately. In this guide, you will find realistic attic insulation cost ranges for 2026, how prices change by insulation type and attic size, the factors that push costs up or down, how much you can expect to save on utility bills, and how to decide between DIY and professional installation.
Average Attic Insulation Cost in the USA
For a typical USA home, attic insulation cost generally falls in the low-to-mid four figures for a full professional installation, with most projects landing somewhere between one and three thousand dollars depending on the size of the attic and the material chosen. Smaller top-ups over existing insulation cost less, while a complete removal and replacement in a large home costs more.
The single biggest cost driver is the size of your attic, since contractors price the job largely by square footage. A small ranch home with a thousand square feet of attic space will cost far less to insulate than a two-story colonial with two thousand or more. The type of insulation you choose is the second biggest factor. Basic blown-in fiberglass or cellulose sits at the affordable end, while spray foam sits at the premium end and can cost several times more per square foot. Accessibility matters too: an attic with a proper access hatch, adequate headroom, and clear floor space is quick to insulate, while a cramped attic with low clearance, obstructions, or no flooring takes longer and costs more in labor.
Attic Insulation Cost by Type
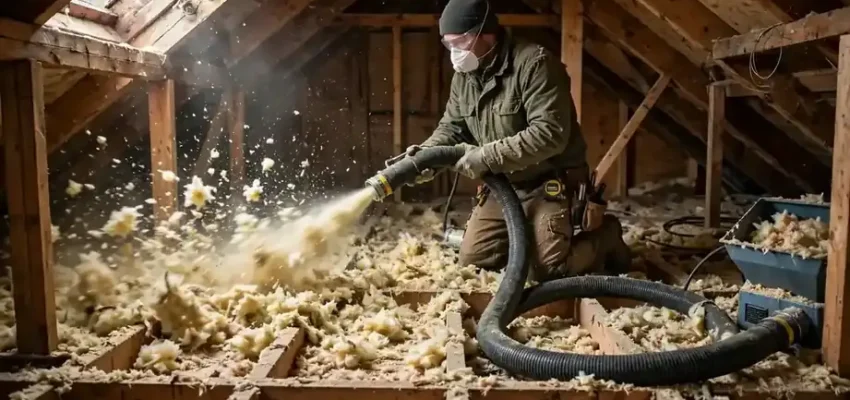
Blown-in fiberglass is the most common choice for attics and one of the most affordable. A machine blows loose fiberglass fibers across the attic floor to a specified depth, filling gaps and covering joists evenly. It installs quickly, often in a single day, which keeps labor costs down.
Blown-in cellulose, made from recycled paper treated with fire retardants, is similarly priced and popular with environmentally conscious homeowners. It settles a bit more over time than fiberglass, so installers add extra depth to compensate. Fiberglass batts, the familiar pink rolls, cost a little more in labor because they must be cut and fitted by hand around every obstruction, but they work well in attics with simple, open layouts.
Spray foam insulation is the premium option. Open-cell and closed-cell foams are sprayed as liquids that expand and harden, sealing air leaks as well as insulating. Closed-cell foam has the highest R-value per inch of any common insulation and adds structural rigidity, but it can cost two to three times as much as blown-in options for the same attic. Radiant barriers, reflective sheets stapled to the underside of the roof, are sometimes added in hot climates to reflect summer heat, and they add a modest amount to the total project cost. For most homeowners, blown-in fiberglass or cellulose delivers the best balance of attic insulation cost and performance.
How Much Insulation Does Your Attic Need?
Insulation is measured by R-value, which indicates resistance to heat flow: higher is better. The Department of Energy recommends attic R-values between R-38 and R-60 for most of the USA, with colder northern zones at the higher end. In practical terms, that usually means 12 to 18 inches of blown-in fiberglass or cellulose.
Many older homes have far less, sometimes just a few inches of settled insulation worth R-11 or less. If you can see the tops of your ceiling joists poking through the insulation, you almost certainly need more. A simple way to check is to measure the depth in several spots and compare it to the recommended depth for your chosen material. An energy audit, which many utilities offer at low cost or free, will measure your current insulation levels precisely and identify air leaks that should be sealed before new insulation goes in. Sealing leaks first is critical, because insulation slows heat transfer but does not stop air movement, and air sealing plus insulation together deliver the real savings.
Factors That Raise or Lower Your Attic Insulation Cost
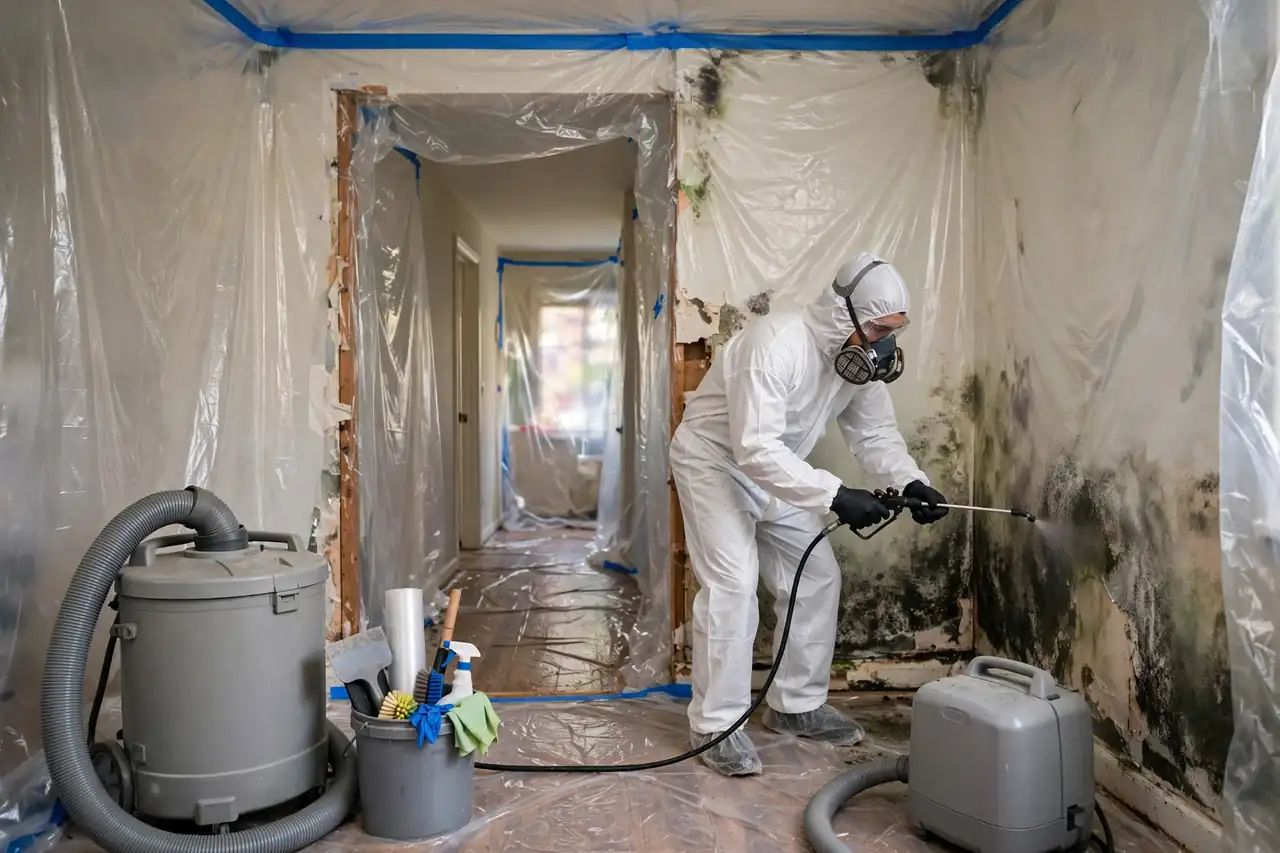
Several conditions can move your project above or below the average. Old insulation that is damaged, moldy, or contaminated by pests may need to be removed first, and removal plus disposal adds a meaningful charge to the bill. If the crew discovers mold on the attic sheathing, that must be treated before new insulation goes in, so review mold remediation costs to understand what that side project involves.
Attic ventilation work is another common add-on. Proper insulation requires proper ventilation: soffit and ridge vents must stay clear so moisture can escape. If your attic lacks adequate venting, the contractor may recommend adding vents, which increases the total. Electrical work, such as moving or covering recessed lights with insulation-safe covers, can add cost too, and our HVAC maintenance checklist explains how your heating and cooling system interacts with attic conditions.
On the savings side, easy attic access, a simple rectangular layout, and the ability to install over existing insulation in good condition all keep labor time down. Getting multiple quotes matters enormously: prices for the same job can vary widely between contractors, so collect at least three written estimates before committing.
Energy Savings: When Does Attic Insulation Pay for Itself?
This is where attic insulation shines. Heating and cooling typically account for around half of a USA home’s energy use, and a poorly insulated attic wastes a large share of that energy. Homeowners who upgrade from minimal insulation to recommended levels commonly see heating and cooling bills drop by a noticeable percentage, with the biggest savings in homes that started with almost nothing.
Because the project cost is moderate and the savings begin with the first utility bill, the payback period is often just a few years, among the shortest of any major home improvement. After payback, the savings continue for the life of the insulation, which can be decades for fiberglass and cellulose. Beyond the dollars, expect more even temperatures from room to room, less strain on your furnace and air conditioner, and a quieter home, since insulation also dampens outside noise. If your HVAC system is aging, compare these savings with AC replacement costs to decide whether insulation, equipment, or both deserve your budget first.
Rebates, Tax Credits, and Financing
Before you pay full price, check for incentives that lower your effective attic insulation cost. Many electric and gas utilities offer rebates for adding attic insulation, sometimes covering a substantial portion of the project, especially when combined with an energy audit. These programs change frequently, so check your utility’s website or call before scheduling work.
Federal tax credits for energy-efficient home improvements have also applied to insulation in recent years, allowing homeowners to claim a percentage of the cost. State and local programs may add further incentives. Your contractor should be familiar with current programs in your area and may even handle the paperwork. Keep all receipts and the product specifications showing R-values, since incentive programs typically require documentation.
DIY vs Professional Attic Insulation Installation
Blown-in insulation is one of the more DIY-friendly major projects. Home improvement stores rent blowing machines, often free with a minimum purchase of insulation bags, and a two-person team can insulate an average attic in a day. DIY saves the labor portion of the cost, which is significant.
However, the DIY route has real caveats. Working in a hot, cramped attic is physically demanding and carries fall and heat-exhaustion risks. You must know how to keep insulation away from recessed lights and exhaust fans to avoid fire hazards, maintain ventilation channels at the eaves, and avoid blocking soffit vents. Mistakes like compressing insulation, which destroys its R-value, or covering bathroom exhaust fans are common among first-timers. Professional installers do this work daily, carry insurance, and typically warranty their work. For spray foam, DIY is strongly discouraged: the chemicals require specialized equipment, protective gear, and training, and improper application can create lasting indoor air quality problems. Most homeowners find that professional installation is worth the labor cost for the safety, speed, and guaranteed R-value.
Warning Signs Your Attic Insulation Needs Attention
You do not need an energy audit to spot the obvious clues. Uneven temperatures between rooms, ice dams forming along your roof edges in winter, and energy bills that rise year after year all point to inadequate attic insulation. In the attic itself, look for thin, patchy, or compressed insulation, water stains on the underside of the roof, and daylight visible around vents or the access hatch.
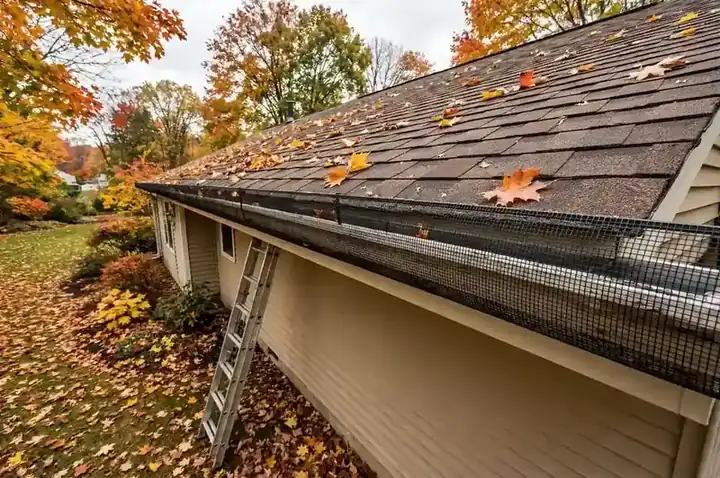
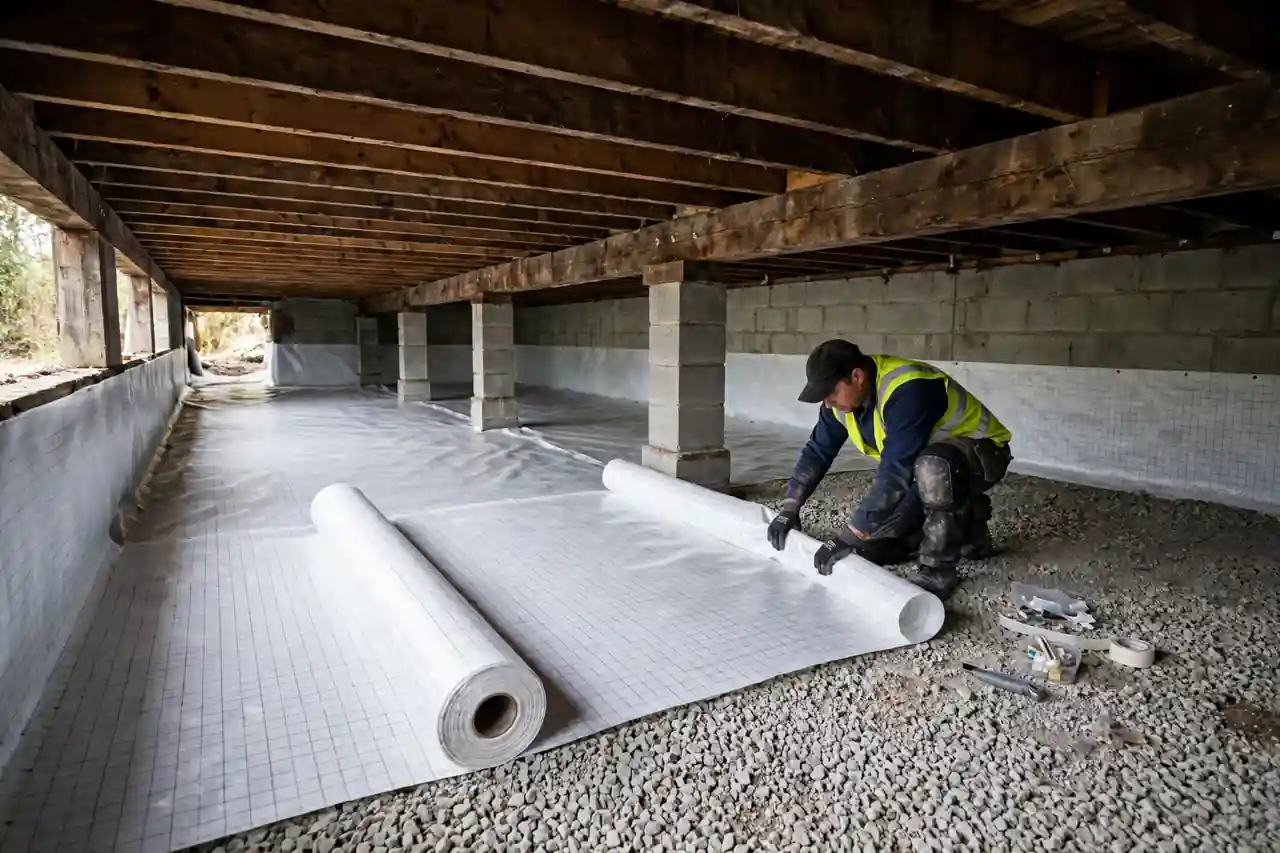
Pest activity is another warning sign. Rodents and birds nest in soft insulation and contaminate it with droppings, in which case removal and replacement is the healthy choice. Musty odors in the attic suggest moisture problems that should be fixed before insulating. If your roof is also aging, coordinate the projects: it is far easier to address ventilation and decking issues when roofing work is already planned, so review our roof replacement cost guide if your shingles are near the end of their life. Homes with damp lower levels should also consider basement waterproofing and crawl space encapsulation, since moisture problems often affect the whole building envelope, not just the attic.
How to Choose the Right Insulation Contractor
Choosing the installer matters as much as choosing the material. Look for contractors who specialize in insulation rather than general handymen, and verify licensing and insurance for your state. Ask how they calculate the R-value they will achieve, what depth they will install, and how they handle air sealing, ventilation baffles, and recessed lights.
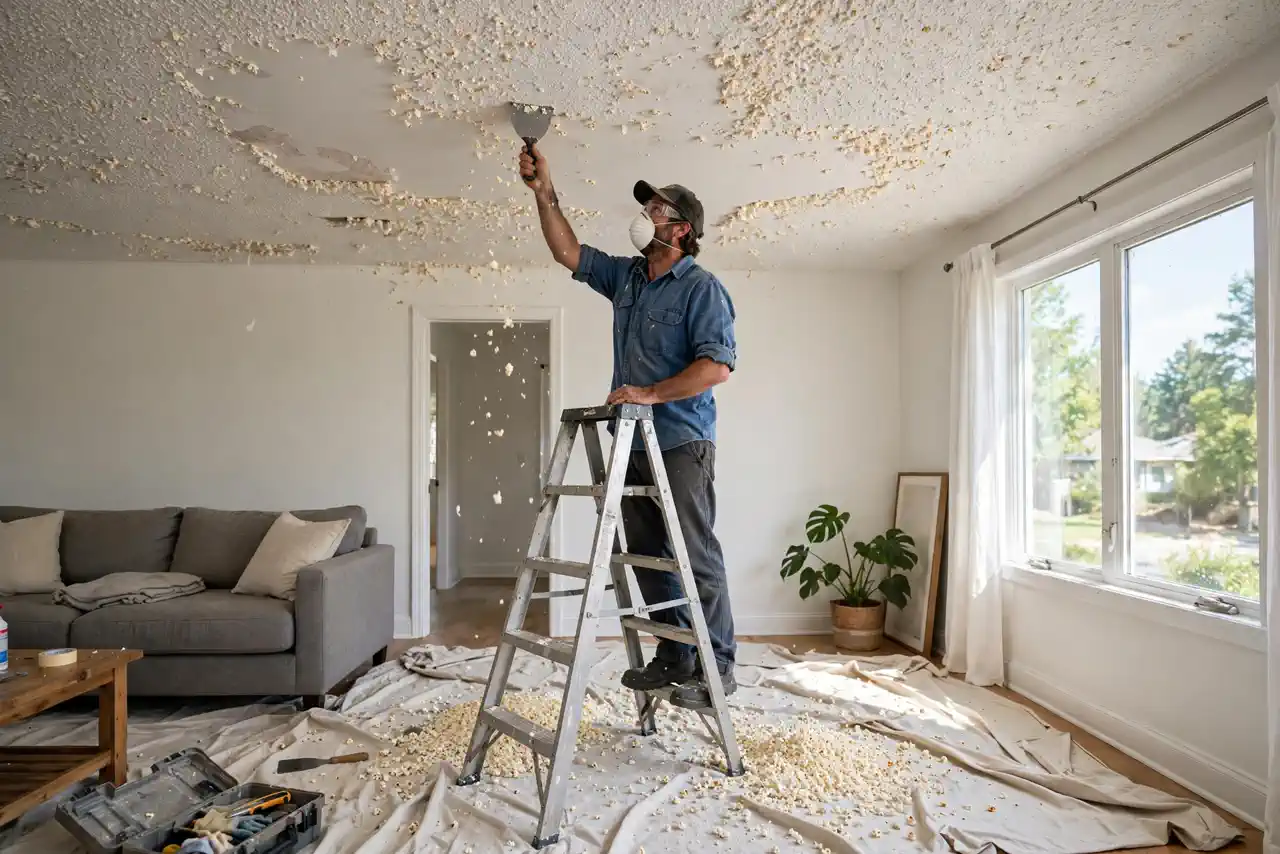
A thorough contractor will inspect your attic before quoting, not just give a price over the phone. If your project grows beyond insulation, see our guide to hiring a general contractor first. They should explain which areas they will and will not insulate, how they will protect your home from dust during installation, and what their warranty covers. Be wary of quotes that are dramatically lower than others, which often signal thinner coverage or skipped air sealing. Also ask about timing: insulation contractors are busiest in fall when everyone rushes to prepare for winter, so scheduling in spring or summer can sometimes secure better pricing and faster appointments. If you are bundling multiple upgrades, a home addition cost guide and drywall repair pricing can help you plan the full project budget, and check home warranty plans to see whether any of your systems are already covered before you spend.
Conclusion
Attic insulation cost is modest compared to the comfort and savings it delivers, making it one of the smartest upgrades a USA homeowner can choose. Focus on reaching the recommended R-value for your climate zone, seal air leaks before insulating, and get multiple quotes from specialized contractors.
Whether you choose affordable blown-in fiberglass, eco-friendly cellulose, or premium spray foam, the result is the same: lower energy bills, more even temperatures, and a home that stays comfortable in every season. Check for utility rebates and tax credits before you buy, and your insulation upgrade could pay for itself even faster than you expect.